
Don’t throw bones out! Ever! (Or try to give them to your dog, because they’ll choke). Use them to make an all-natural, preservative-free, high protein, collagen-rich bone broth that will save you money and reduce waste.
I mean that’s so many benefits I don’t see why anyone wouldn’t do it. Making your own bone broth is so easy to do and is such an awesome opportunity to reduce waste that I don’t know why everyone doesn’t do it. It does take some time, but the good things is, you can leave it and go get other things done around the house while you make it, because the process requires so little maintenance. (I mean, obviously don’t leave your house all together while something is on the stove, but you can absolutely go vacuum, read, answer emails, watch TV, etc. while checking in periodically).
Health Benefits
Before I get to the process, let’s quickly go over the endless health benefits.
- Collagen
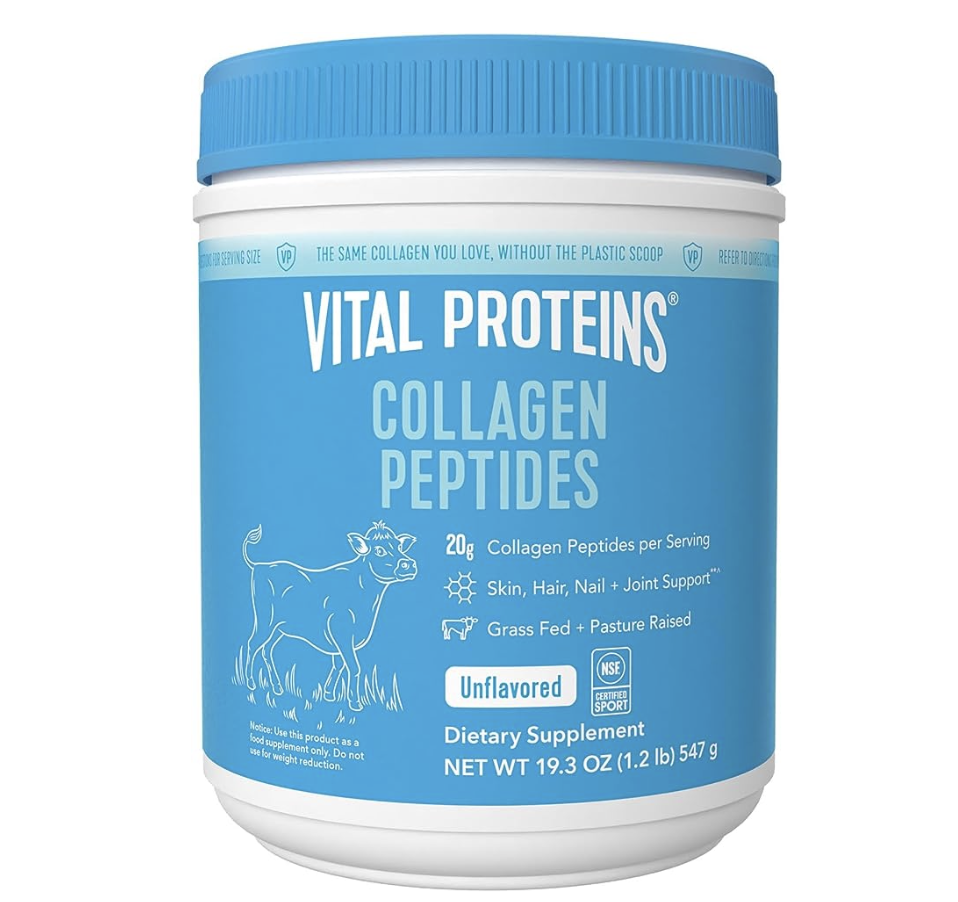
Homemade bone broth generally contains 5-15 grams of collagen per cup, providing basically your entire daily requirement for collagen in a single serving. Check out this article to learn more about the many benefits of collagen. For another excellent source of collagen try the Vital Proteins Collagen Peptides powder from Amazon (pictured above). Add it to your smoothies, drinks, etc. to up your collagen intake.
Protein
A serving of homemade bone broth contains about 10 grams of protein, so this is an awesome way to reach your daily protein goals as well. You should be eating about a quarter of your weight in protein a day. For instance, if you weigh 150 lbs, your recommended protein intake would be around 50 grams (not pounds obviously, that would be insane). Use this handy calculator to calculate your recommended protein intake. It is a lot harder to get enough protein than people think.
Low In Carbohydrates

Bone broth not only provides these high amounts of protein and collagen, but it does so while adding little to no carbohydrates. No sugars; all nutrients.
So what are you waiting for?!
HERE ARE THE SIMPLE STEPS TO MAKE YOUR OWN BONE BROTH:
Step 1:
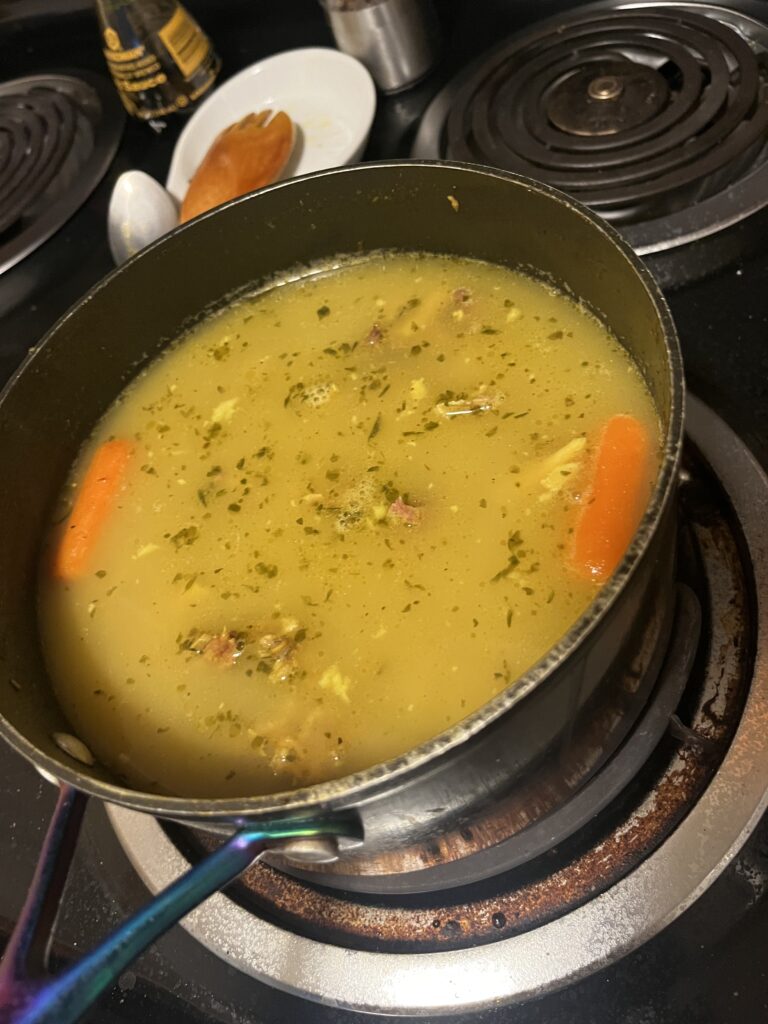
Fill a pot nearly all the way with water, leaving about 1/5 of the pot empty to allow room for boiling.
Step 2:
Turn the stove on high and add in your bones. Any bones will work, though I usually use the chicken bones I have left over from a Costco rotisserie chicken or some wings. Side note: if you’re in Charleston or ever visiting, Home Team BBQ has literally the best smokey wings I’ve ever had in my life.1
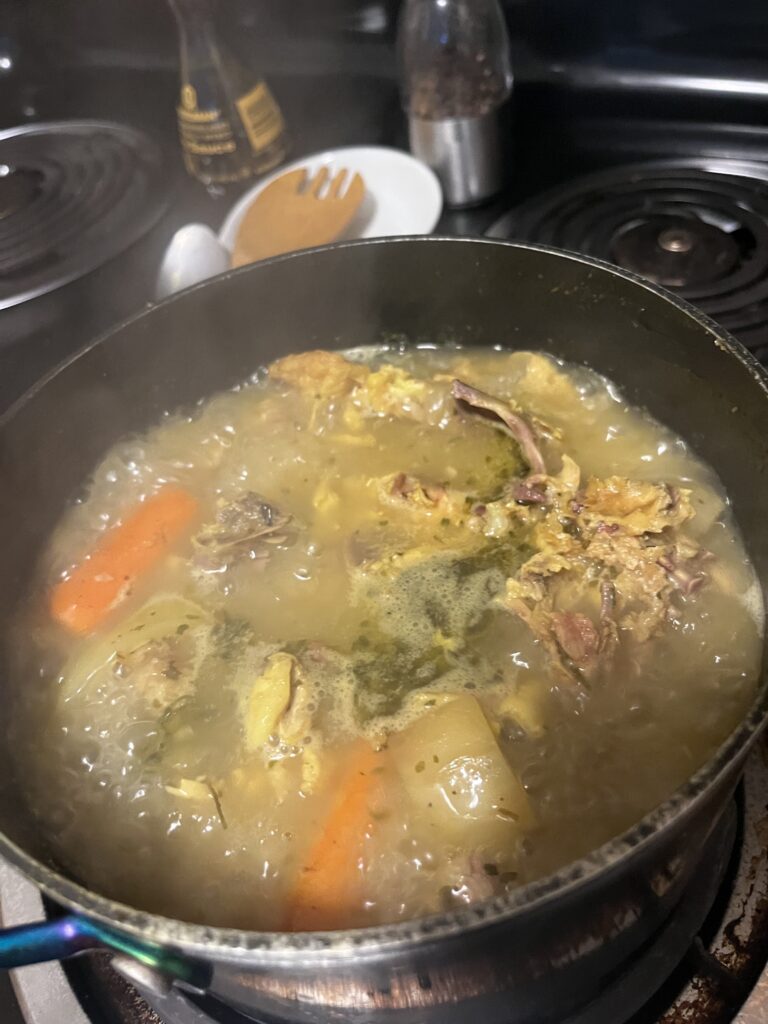
At this stage, you also want to add in any veggies you want to use to flavor the broth with. Hard, slow-to-cook veggies like carrots and celery are an awesome addition. Onions are also great for flavor.
You don’t have to put more than a few little pieces of each veggie to get the flavor in there. This is also an awesome time to use any veggie scraps you may have. Just make sure they are well washed.
Step 3:
Add in a lot of salt. You want to really salt it more than you would if you were simply cooking, since you’re flavoring water and the bones aren’t going to add sodium. That being said, you can always add salt as you go, so don’t go too crazy in the beginning. Definitely do not worry about oversalting though. Go ahead and add a few large pinches. I like to use the unground Himalayan Pink Salt because it has thick crystals that absorb nicely.
At this stage, you also want to add in all of your herbs. You don’t have to use any herbs necessarily, but I personally love the extra flavor. Fresh herbs really are the best and I highly suggest you start an herb garden right now. You don’t need an actual garden. I don’t have a yard. I just grow them out on my porch. (In fact, I grow several vegetables on my porch just fine). You really only need a window sill for herbs though, so even if you don’t have a porch, just stick them somewhere that gets some decent sunlight.2
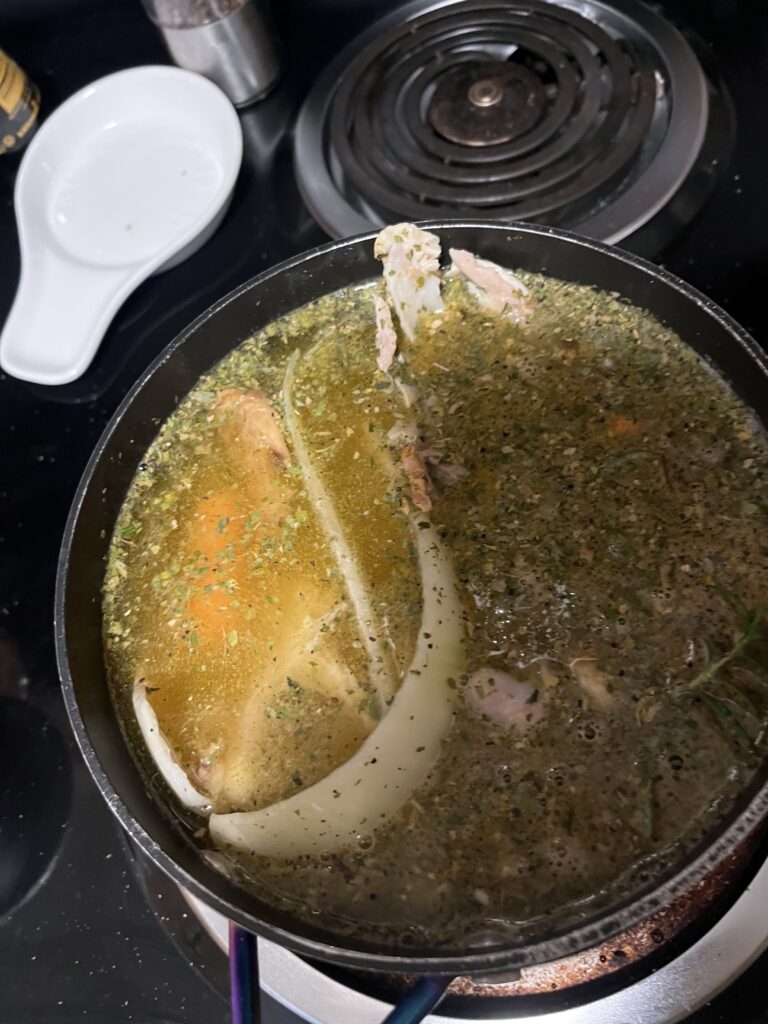
Anyway, to my bone broth, I like to add rosemary, thyme, parsley and, even though it’s not really an herb – celery leaves, to my broths. They give it a nice fresh taste. Another awesome way to reduce waste is to use the leaves on the top of celery stalks to chop up for seasoning. I love to do this in my broths.
Turmeric is also an awesome addition as it adds relatively little flavor, but packs extra health benefits into your broth. Check out the turmeric link to see the benefits of turmeric.
Step 4:
Bring to a boil and simmer.

That’s all. Just keep simmering for a very long time, stirring periodically.
Step 5:
Add more water and salt once you see it start to boil down about half way.
Step 6:
Repeat step 4 and 5 for a while. The longer the better, but generally a couple of hours is the minimum. A lot of recipes will tell you to simmer for like 10-12 hours. In my experience, that isn’t necessary, and takes way too much time. I usually simmer mine for 2-4 hours and it turns out just fine.
This is the part where you can step away and get other things done while the liquid reduces. Check on it every once and a while to see when it needs refilling/stirring. Taste it throughout to see if it’s reached desired saltiness and you should stop adding salt. Sit back and chill while your bones do their thing.

Step 7:
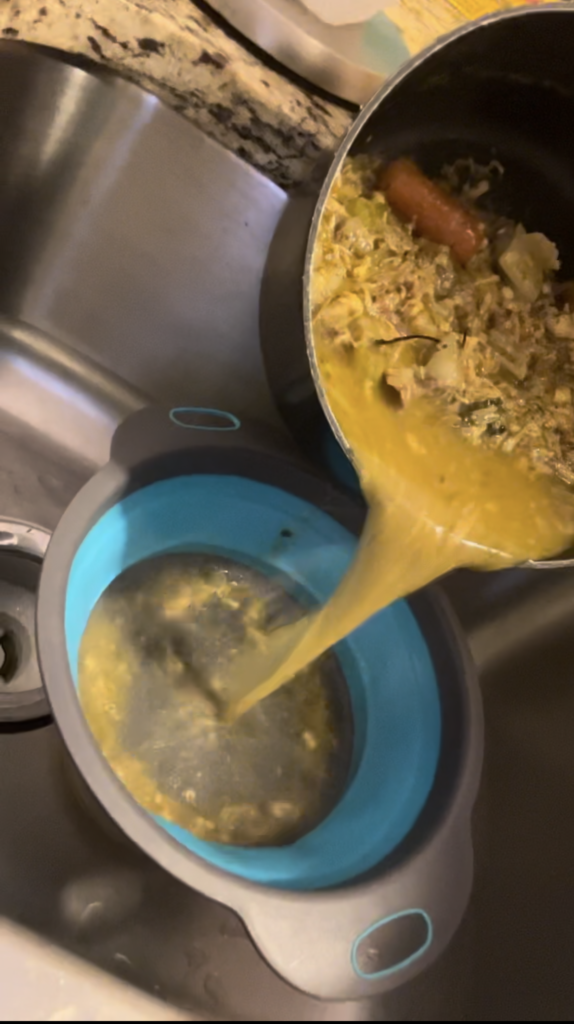
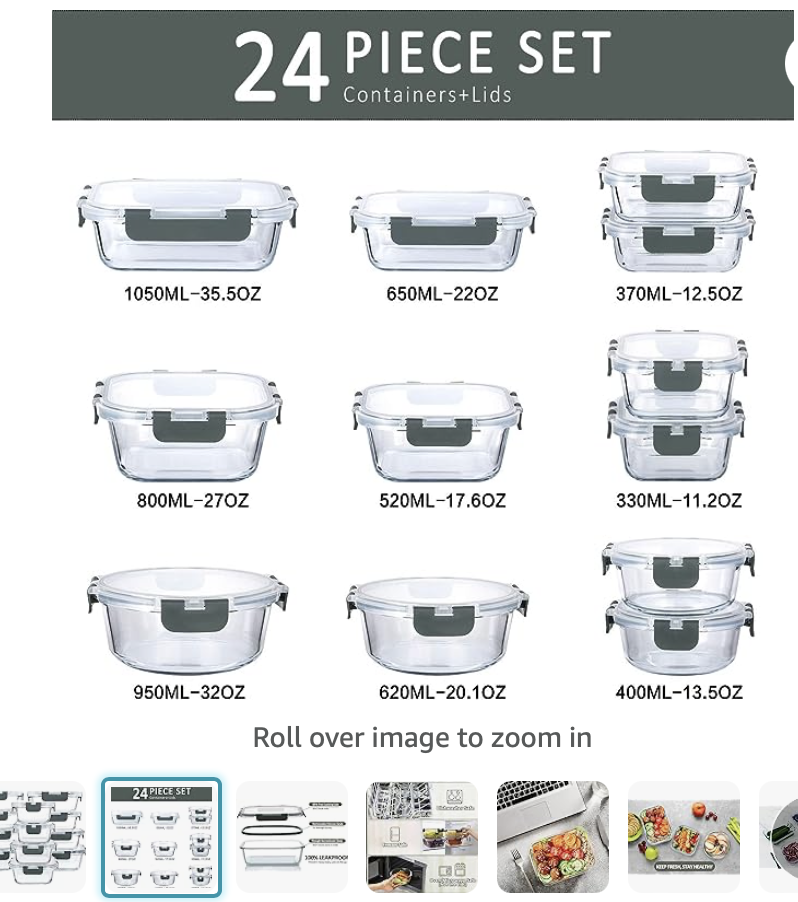
Once you’ve boiled the ingredients for several hours and you just can’t take it anymore, the broth starts to have a nice brownish color. Take it off the heat and strain it into a container (preferably a glass container as the liquid is boiling) over the sink. I love these glass Tupperware containers from Amazon.
I also love these collapsible strainers from Amazon. Living in a one-bedroom apartment, I’m pressed for storage space, and these cute little collapsible strainers are an absolute dream.

Just be warned… be very careful to strain into a container. It sounds silly, but if you’re not thinking about it, you may naturally go to strain the liquid out into and down the sink. It’s what we usually do with strainers, so our brains naturally want to do that. The first time I ever tried making broth I wanted to cry because after 3 hours of nursing this beautiful golden broth that smelled phenomenal, at 11PM, I poured it straight down the drain because I was tired and wasn’t paying attention. Don’t be like me. Do better.
Step 8:
Put the container in the fridge.

After it sits in the fridge for several hours, you should be able to take it out and see that it has congealed at least a bit. This is the Collagen from the bones and means you’ve done something right! It seems weird at first, as store-bought bone broths don’t do this generally, but natural bone both congeals more and more the more proteins/collagens come out of the bones. So the gelatin consistency just means you have a healthy, natural broth with no additives and high nutrients. Congrats!
